Showing posts with label DIY. Show all posts

Friday, December 9, 2011

Wine Rack Wood Plank


Transformed :: Wood Plank Wine Rack


wine rack instructional diy wood hanging shelf best easy
Happy Thursday, everyone! Claire here, and you might recall two weeks ago when I asked for your opinions on which wine rack design I should create. Well it certainly wasn’t an easy decision, but after much deliberation I set out to replicate wine rack #3 (and used a patterned, natural piece of wood for added interest). I couldn’t be more excited to share with you the fruits of my labor… and better yet, show you all how to create your own. Keep reading for the full instructional, and I’d love to know what you think! 
wine rack instructional diy wood hanging shelf best easy
wine rack instructional diy wood hanging shelf best easy wine rack instructional diy wood hanging shelf best easy wine rack instructional diy wood hanging shelf best easy wine rack instructional diy wood hanging shelf best easy
  • wooden plank (I used cedar, inexpensive and beautiful)
  • drill press that drills at an angle, with a 1.25″ forstner bit (If you don’t have access to a forstner bit or drill press, go to a local hardware store and use their standard drill saw. This will make your bottles vertical rather than angled.)
  • sandpaper
  • tape measure
  • pencil
  1. Cut plank to 36″ x 3.5″ x 1″ (this can vary slightly depending on wood, amount of wine to hold, etc.)
  2. Mark where the holes will be drilled. If you are drilling at a 30 degree angle, leave about 4″ of space between holes
  3. Drill bottle holes
  4. Sand off pencil marks and rough edges to smooth
  5. Paint, stain and/or shellac if desired
  6. There are numerous ways to hang your shelf. For a heavy shelf, I recommend L brackets or pelican brackets.

Paper Flowers

Paper flower tutorial

I thought some of you would enjoy a quick tutorial on how to make those little paper flowers I used as part of my table setting a couple weeks ago. The credit for these go to Martha Stewart (I saw this idea nearly 10 years ago in her magazine, but haven't been able to find it on her website). So here I go..

Step 1: Draw a spiral on a 4x4" square sheet of paper
Paper flower tutorial: step 1

Step 2: Cut out spiral along lines you have drawn
Paper flower tutorial: step 2

Step 3: Begin rolling up the spiral from the outside
Paper flower tutorial: step 3

Step 4: Keep on rolling until there's no more left to roll
Paper flower tutorial: step 4

Step 5: You're done!
Paper flower tutorial: done!

I used a slightly heavier weight paper for this one, but you can use normal paper as well. You can use squares of various sizes to have different sized flowers. Besides sticking them on branches, they would be great scattered on the table as well. Heck, you can even make a little bouquet of them. Have fun!


Note: You may use a bit of glue or double-stick tape to keep the flower from unrolling and loosening up with time. I didn't glue the ends for these specific flowers and they held up alright.

Scrabble Coasters

scrabble coasters
Love words? Love handmade? Looking for unique DIY wedding ideas? You will be smitten with these DIY Scrabble Coasters!
Not only are they a cinch to make, they are inexpensive and tres chic!
If you are having a small wedding, why not use these as name cards that double as favors? They would also make fabulous bridesmaid and groomsmen gifts.
For each coaster you will need:
DIY Scrabble Coasters Tutorial
Pick out your tiles.
scrabble tiles
Pick out letters for desired name.
scrabble tile project
Paint name letters with aging glaze or stain and let dry.
scrabble crafts
Place tiles on cork board and trace around them with a pencil. (If you are in a hurry, skip this step and simply add carpenter’s glue to cork board.)
scrabble tile coastersscrabble coaster
Remove tiles and add carpenter’s glue to cork board inside the traced square.
scrabble diy coasterAdd Scrabble tiles to the cork board, beginning in the corner. Pay attention to the letters – you might inadvertently create some swear words.
diy coasters
diy coasterUsing an Xacto knife, cut around the tiles. Try to get as close to the edge as possible.
scrabble tile crafts
Varnish.
scrabble coaster
Let dry. (You can give it another coat if you want.)
scrabble coaster diy
Use as name cards at your wedding, or give as bridesmaid or groomsmen gifts!
scrabble coaster

Monday, December 5, 2011

DIY hair flower

go the DIY route with this fabulous tutorial from those crafty folk over at Project Wedding. They sure know a good DIY idea when they see it! With simple (and pretty) step by step instructions, this tutorial shows you how to make your own light, airy, floaty flowers.
Chiffon and/tulle fabric squares, a needle and thread, scissors and a piece of card are all you need to get started.

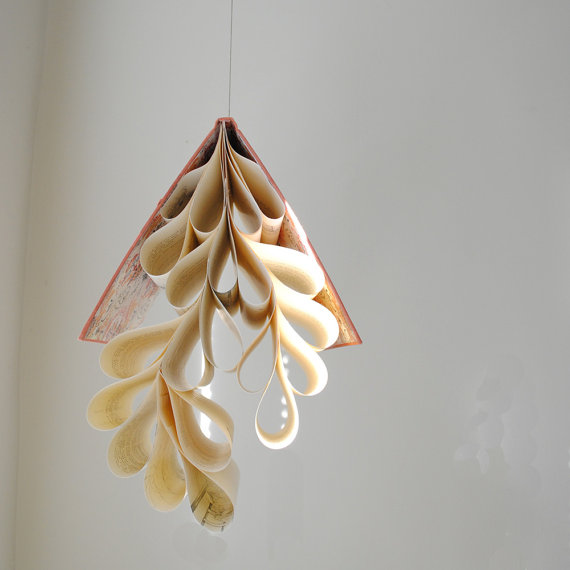
Book hangers, decorative

Vintage Doily necklace

DIY Lace Doily Necklace

I love this necklace tutorial that I found from Elizabeth Anne Designs. The necklace is made from a doily, so not only is it super cute, but it's vintage as well-which is super awesome. Being able to take something old and give it new life is so great. That's exactly what this necklace does. And, when you're finished, it looks like a beautiful boutique piece that would be great for a bride or a bridesmaid (or just to wear on any old day!). It's really easy to do and hardly costs anything...music to my ears!


DIY-Doily-Necklace-Tutorial-13
Finding the right doily for this project may be the hardest part.  You need one with good shape and structure in the size you like, but one that is also delicate enough.
You can purchase all of the supplies from this project (except for the *perfect* vintage doily, of course!) at Michael’s.  You will need:
  • Vintage doily
  • Sewing  glue
  • Needle-nose pliers
  • Flat-nose pliers
  • Jewelry chain
  • Jump rings
  • Clasp closure
DIY-Doily-Necklace-Tutorial-02
1) Lay your doily out and decide where to cut.  Be sure that each side of the doily after cutting has four loops for the chain.
2) After cutting the lace, dot sewing glue around the edges and where the chain will be added to prevent it from fraying.
DIY-Doily-Necklace-Tutorial-04DIY-Doily-Necklace-Tutorial-06
3) Measure the chain for your neck and doily.
4) Open a jump ring with needle nose pliers, and attach it to one end of your chain.  Thread the jump ring through the doily.  Use flat nose pliers to close the jump ring.  Do the same with a smaller length of chain on the second doily loop on the same side of the necklace.  Then use another jump ring to attach the smaller length of chain to the longer length.  Repeat on the other side of the doily.
DIY-Doily-Necklace-Tutorial-07
At the other ends of your chain, use jump rings to attach your necklace closures.  Rebekah found a precious typewriter key closure  for this necklace.
DIY-Doily-Necklace-Tutorial-08
Voila, a beautiful vintage doily necklace!
DIY-Doily-Necklace-Tutorial-11DIY-Doily-Necklace-Tutorial-10
Images and tutorial by Rebekah J Murray for Elizabeth Anne Designs.

Recycled book ideas

Like this item?

Add it to your favorites to revisit it later.

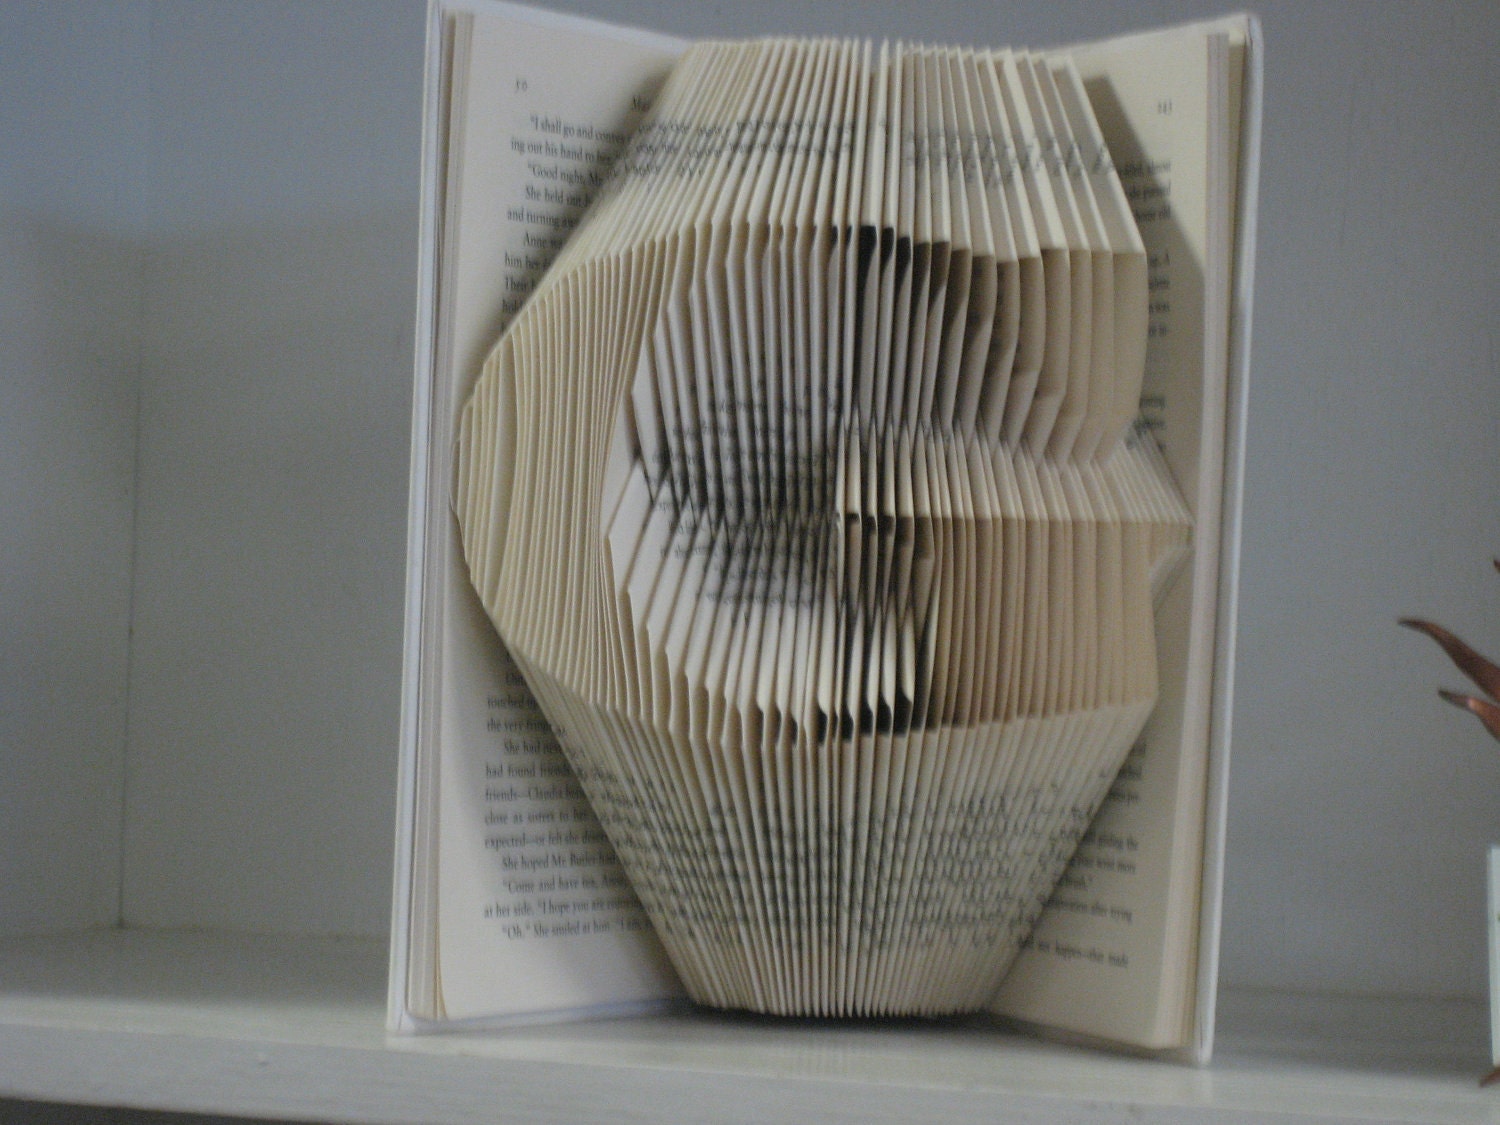
Custom Folded Book Art Sculpture - one large initial

Custom Folded Book Art Sculpture - one large initial
Produktbilde Produktbilde