Showing posts with label handmade. Show all posts

Friday, December 9, 2011

Paper Flowers

Paper flower tutorial

I thought some of you would enjoy a quick tutorial on how to make those little paper flowers I used as part of my table setting a couple weeks ago. The credit for these go to Martha Stewart (I saw this idea nearly 10 years ago in her magazine, but haven't been able to find it on her website). So here I go..

Step 1: Draw a spiral on a 4x4" square sheet of paper
Paper flower tutorial: step 1

Step 2: Cut out spiral along lines you have drawn
Paper flower tutorial: step 2

Step 3: Begin rolling up the spiral from the outside
Paper flower tutorial: step 3

Step 4: Keep on rolling until there's no more left to roll
Paper flower tutorial: step 4

Step 5: You're done!
Paper flower tutorial: done!

I used a slightly heavier weight paper for this one, but you can use normal paper as well. You can use squares of various sizes to have different sized flowers. Besides sticking them on branches, they would be great scattered on the table as well. Heck, you can even make a little bouquet of them. Have fun!


Note: You may use a bit of glue or double-stick tape to keep the flower from unrolling and loosening up with time. I didn't glue the ends for these specific flowers and they held up alright.

Monday, December 5, 2011

DIY hair flower

go the DIY route with this fabulous tutorial from those crafty folk over at Project Wedding. They sure know a good DIY idea when they see it! With simple (and pretty) step by step instructions, this tutorial shows you how to make your own light, airy, floaty flowers.
Chiffon and/tulle fabric squares, a needle and thread, scissors and a piece of card are all you need to get started.

Recycled book ideas

Like this item?

Add it to your favorites to revisit it later.

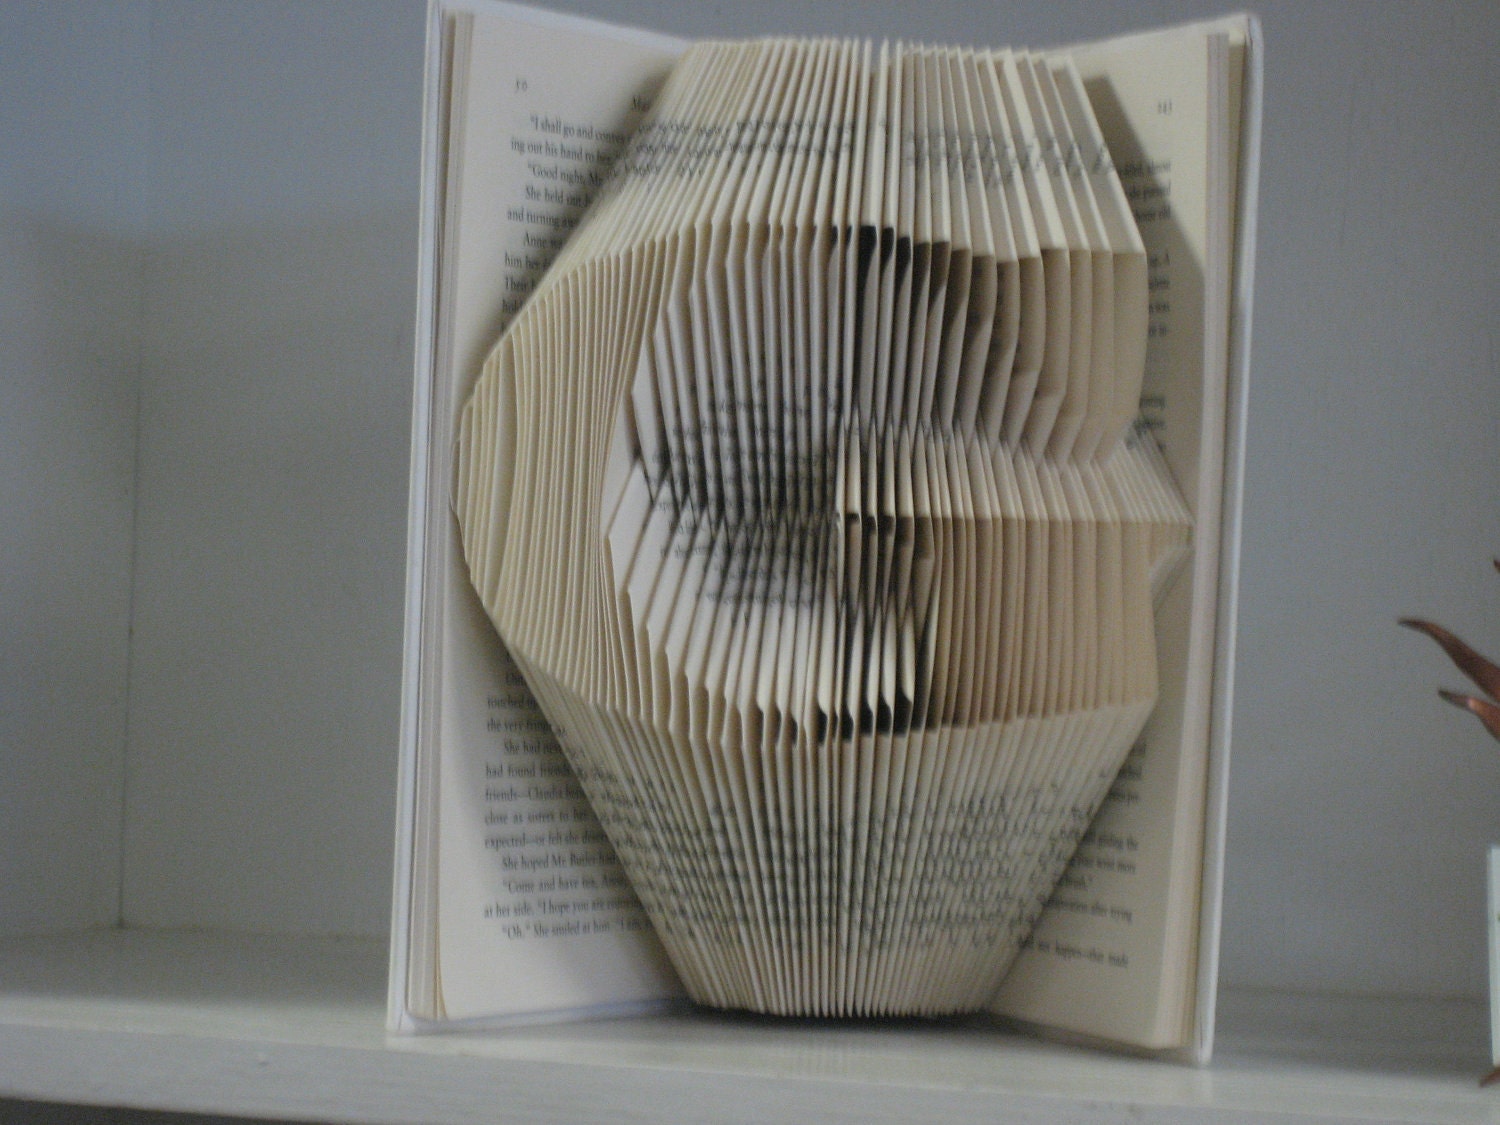
Custom Folded Book Art Sculpture - one large initial

Custom Folded Book Art Sculpture - one large initial
Produktbilde Produktbilde

Picture frames with 3d designs

30 days of creativity - pop art by Donaville Herrick
Today I created something that I like to think of as “Pop Art”, certainly not in the traditional, Andy Warhol-esque sense of the word, but as in art that pops or leaps out at you, in the third dimension as it were.
I was going to try to hang these on the wall today but I’m pretty awful when it comes to handy-work. I usually leave it up to the Mr. to build furniture, hang frames, and anything else that involves a hammer. Besides, I’m not entirely sure where I want to hang these just yet. Most likely somewhere on the ghost-townish walls of my office.
Feeling inspired? Make your own version of my version of pop art.
Supplies you’ll need:
  • 4 picture frames. I used 4″ x 6″ frames, but you can mix things up by using fewer or more frames and using different dimensions – go for a diptych, triptych, the possibilities are endless!
  • 1 sheet of scrapbook paper (may require more if you’re using larger picture  frames)
  • scissors
  • butterfly punch
  • glue gun
Steps:
  1. Cut 4 sheets of scrapbook paper to fit into your frame. I scored the lovely one pictured when Michael’s Craft Store was having a 4/$1 sale on 12″ x 12″ sheets of paper. It’s also the same paper I used for the Mother’s Day card and keepsake I made for my mom last month.
  2. Place each cut sheet into the frame
  3. Lay the frames onto a flat surface in whatever formation. As you can see, I chose a square-ish form, leaving about 1/2″ of space between each frame.
  4. Get punch happy with your butterfly punch. I punched about 20 paper butterflies and boy did my knuckles hurt afterward. Kidding, but the butterflies were none too happy.
  5. Place the butterflies onto your frames any way you like and adhere with superglue. I tried double-sided tape at first, but the tape didn’t stick to the glass.
I initially thought about removing the glass from the frames and pasting the butterflies directly onto the paper itself, but the beauty about keeping the glass is that I can switch out the paper in the future.

Babyshower Ideas


Such a unique concept creating all the decor and sweet treats for this baby shower, around rain clouds and SHOWERS, who would have thought! One thing I love about special events like these, are the little details - the clouds on the staws, the raindrops from the pom pom clouds and the stripey straws.

Vase Centerpieces

Step 1: Fill with Peppermint Candies

For a display that has both form and function, fill clear vases with Christmas candy then encourage hungry guests to dig in! For a spectacular striped look, we used a variety of pepper mints including sticks, circles and rectangles.
Glass centerpiece vases with peppermints

Step 2: Fill with Ornaments

Bright, shiny ornaments are always eye-catching on a table. We separated round glass ornaments by color, and then put each color in a different vase. You could also fill the containers with the same color of ornaments or use ornaments with different shapes, such as stars.
Glass centerpiece vases with ornaments

Step 3: Fill with Acorns

An impressive centerpiece is as easy as the nearest pine tree! Collect small, medium and large pinecones. You could even purchase white-tipped pinecones from a craft store.
Glass centerpiece vases with acorns

Mosaic Christmas Trees

Step 1: Wash Tiles

Wash mirror tiles in warm water and dishwashing detergent; dry thoroughly.

Step 2: Add Tiles to Bottom of Tree

Place a strip of double-sided tape around the bottom of one tree. Adhere 1/2-in. x 1/2-in. mirror tiles onto the tape in any pattern you desire. Place another strip of tape around the tree close to the top of the tiles you just attached. Adhere tiles onto the tape. Repeat until all but about 1/2 in. at the top of the tree is covered with tiles.

TIP

The number of tiles needed depends on the size of the trees used. To cover one 9-in., one 12-in. and one 15-in. tree, we used about 800 silver 1/2-in. tiles, 200 blue 1/2-in. tiles and 33 silver 1- x 1/4-in. tiles.

Step 3: Add Tiles to Top of Tree

Add tape. Adhere 1-in. x 1/4-in. tiles vertically around the top of the tree. Glue a silver ball ornament on top. Repeat the process with the other two Styrofoam trees.

Teacup Candles


Antique teacups that have lost their saucers still make sweet gifts when fitted with candles.
Tools and Materials
Nested pans
Partially burned candles
Candy or candle thermometer
Tongs
New wicking
Teacups
Wick sustainers
Wooden skewers
Teacup Lights How-To
1. In a small pan set over a larger pan of simmering water, melt down old candles; clip the thermometer to the upper pot, and keep temperature at about 185 degrees. Remove old wicks with tongs.
2. Cut a piece of wicking to the cup's height plus 2 inches. Clamp one end to a wick sustainer; tie the other end around a skewer. Dip wicking and sustainer into melted wax to coat them. Remove and stick sustainer to cup's bottom.
3. Pour in the wax, stopping 1/2 inch below the cup's rim. Allow wax to set, about 1 hour. The candle will harden with a well in the center. To even it out, use another skewer to prick a circle of holes about 1/16 inch deep around the wick. Pour in melted wax until surface is 1/4 inch below rim. Cut wick.

Paper Star and Christmas tree